Setting-Up Your First App
The first steps needed to create your mobile app using Despia.
Written By despia
Last updated Over 1 year ago
Step 1. Setup your Web App.
Despia is a runtime environment that converts JavaScript web applications into native mobile apps. To begin using Despia, you'll need to have at least a basic web application as a starting point. This allows your web app to run natively on mobile devices with native performance and functionality.
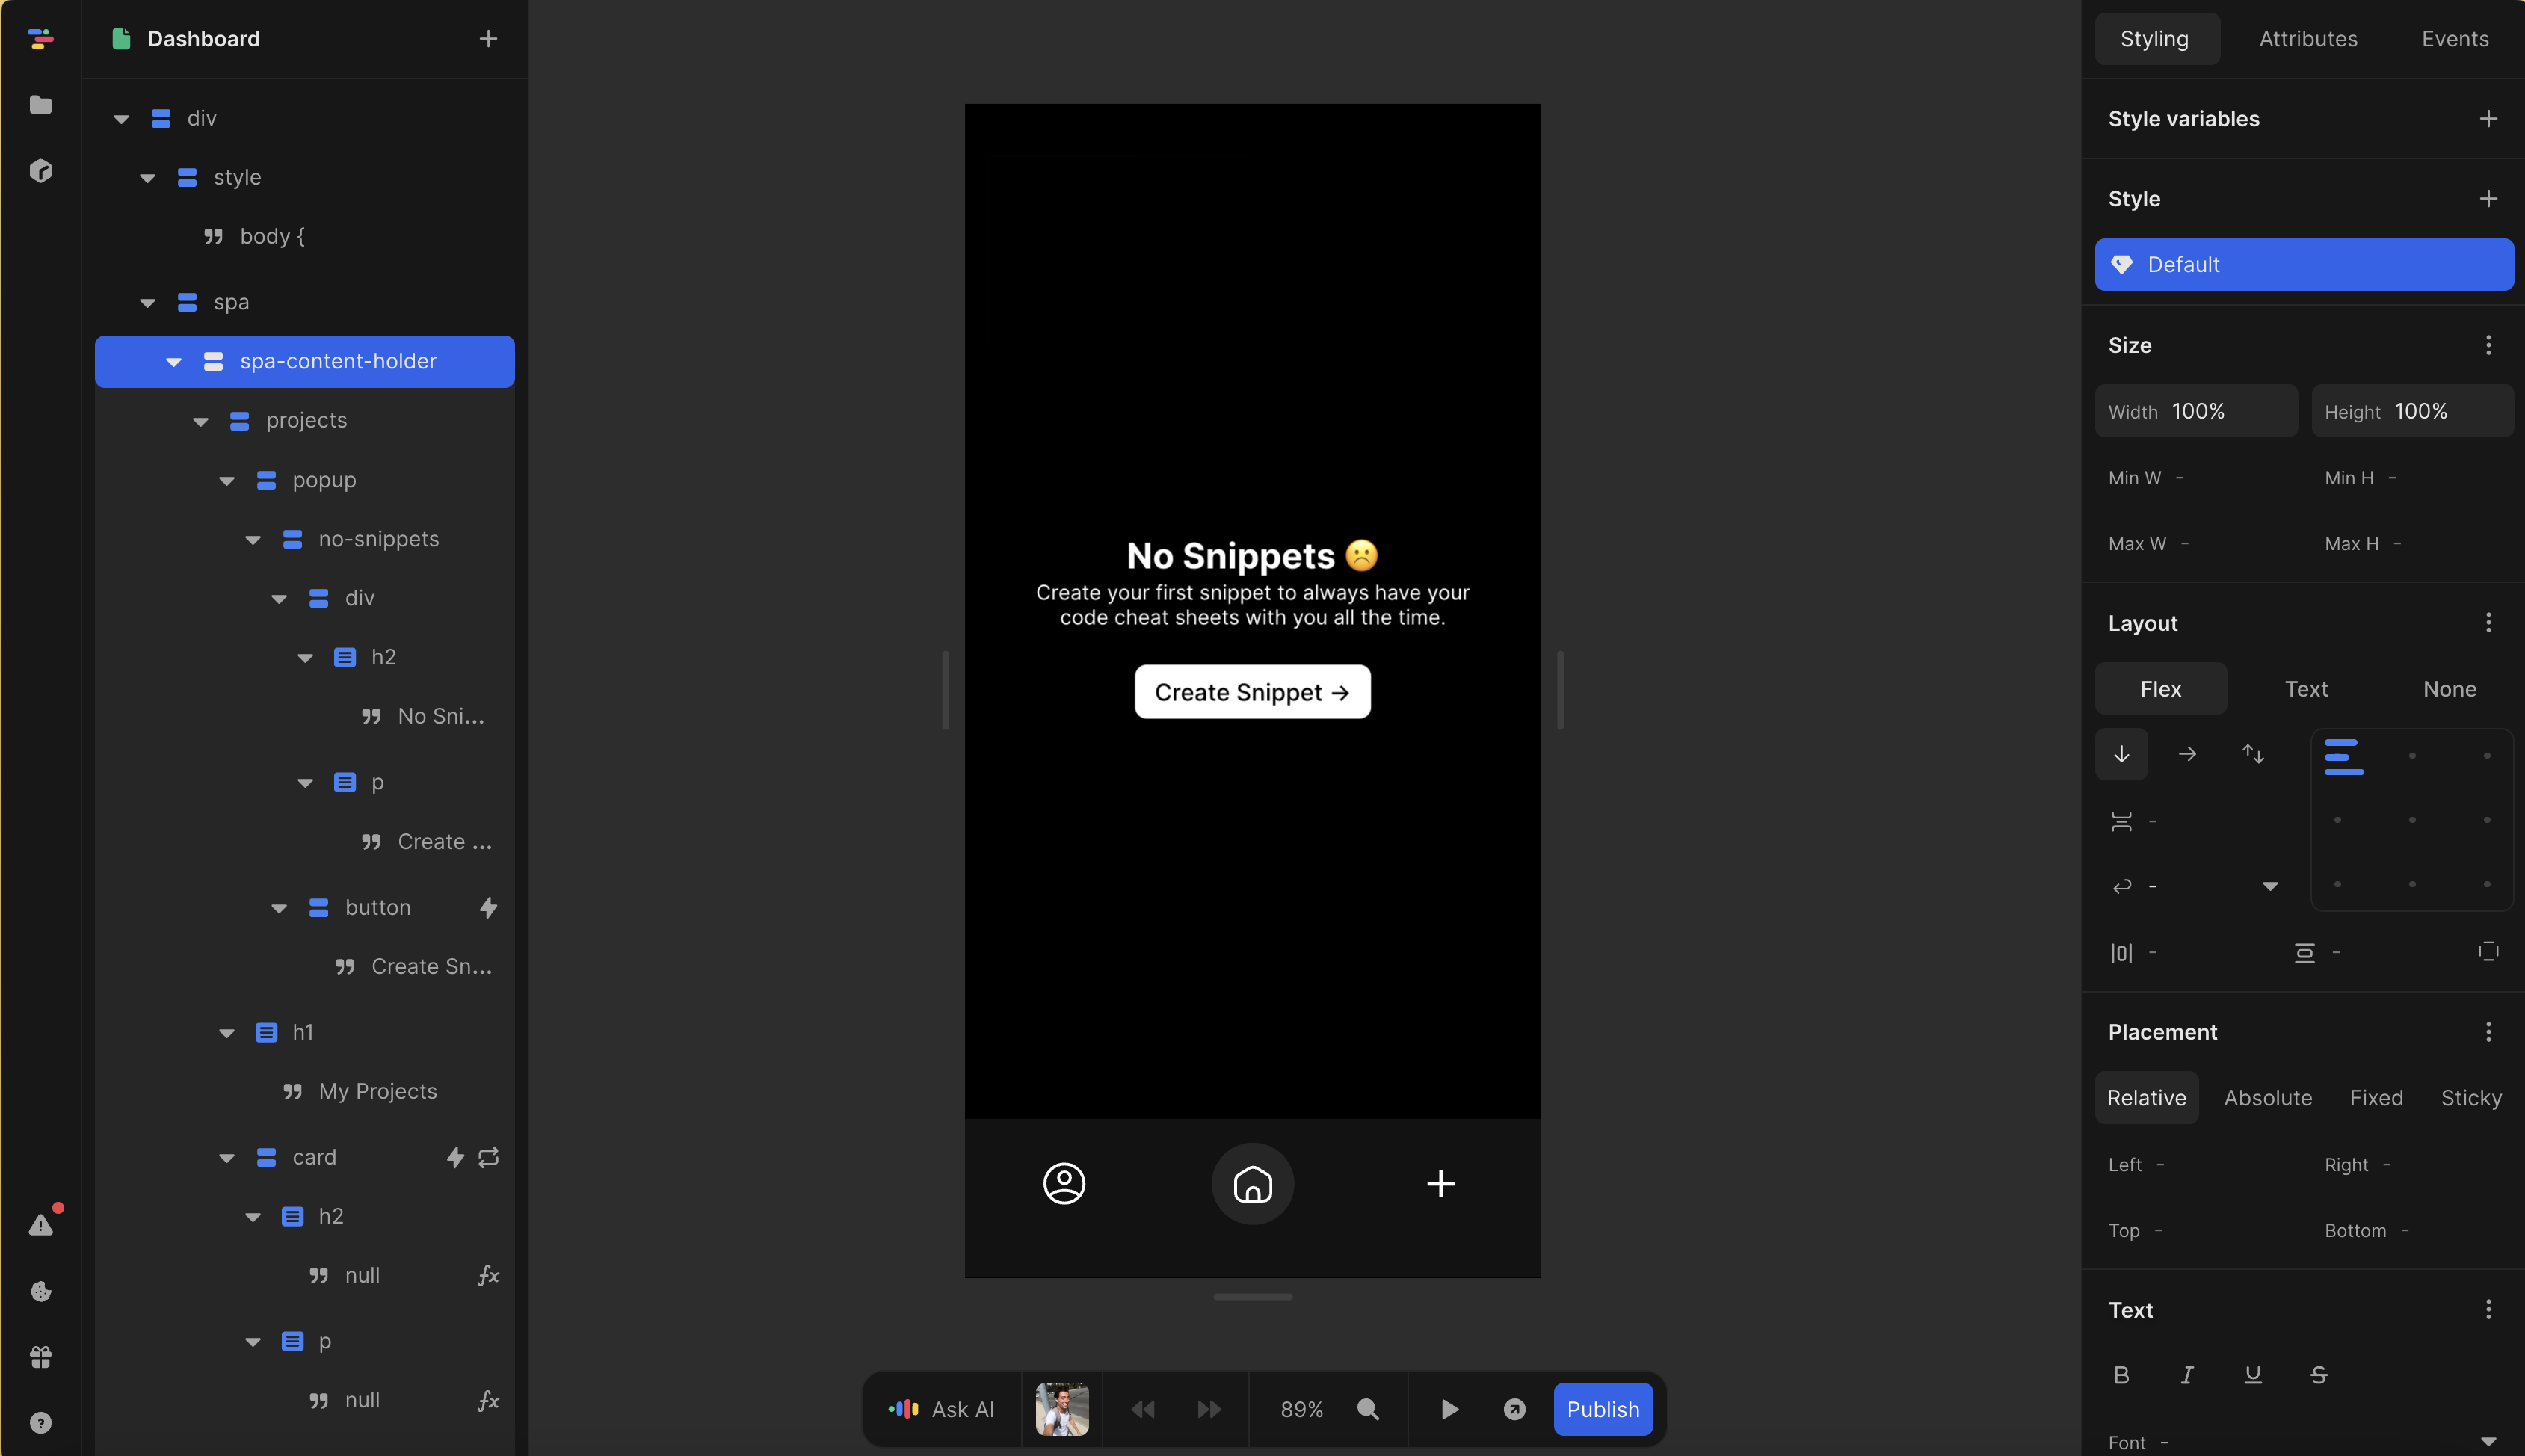
If you haven't built your web app yet, we recommend using toddle.dev or creating one with React or Next.js as your framework. These options provide robust foundations for building web applications that work well with Despia.
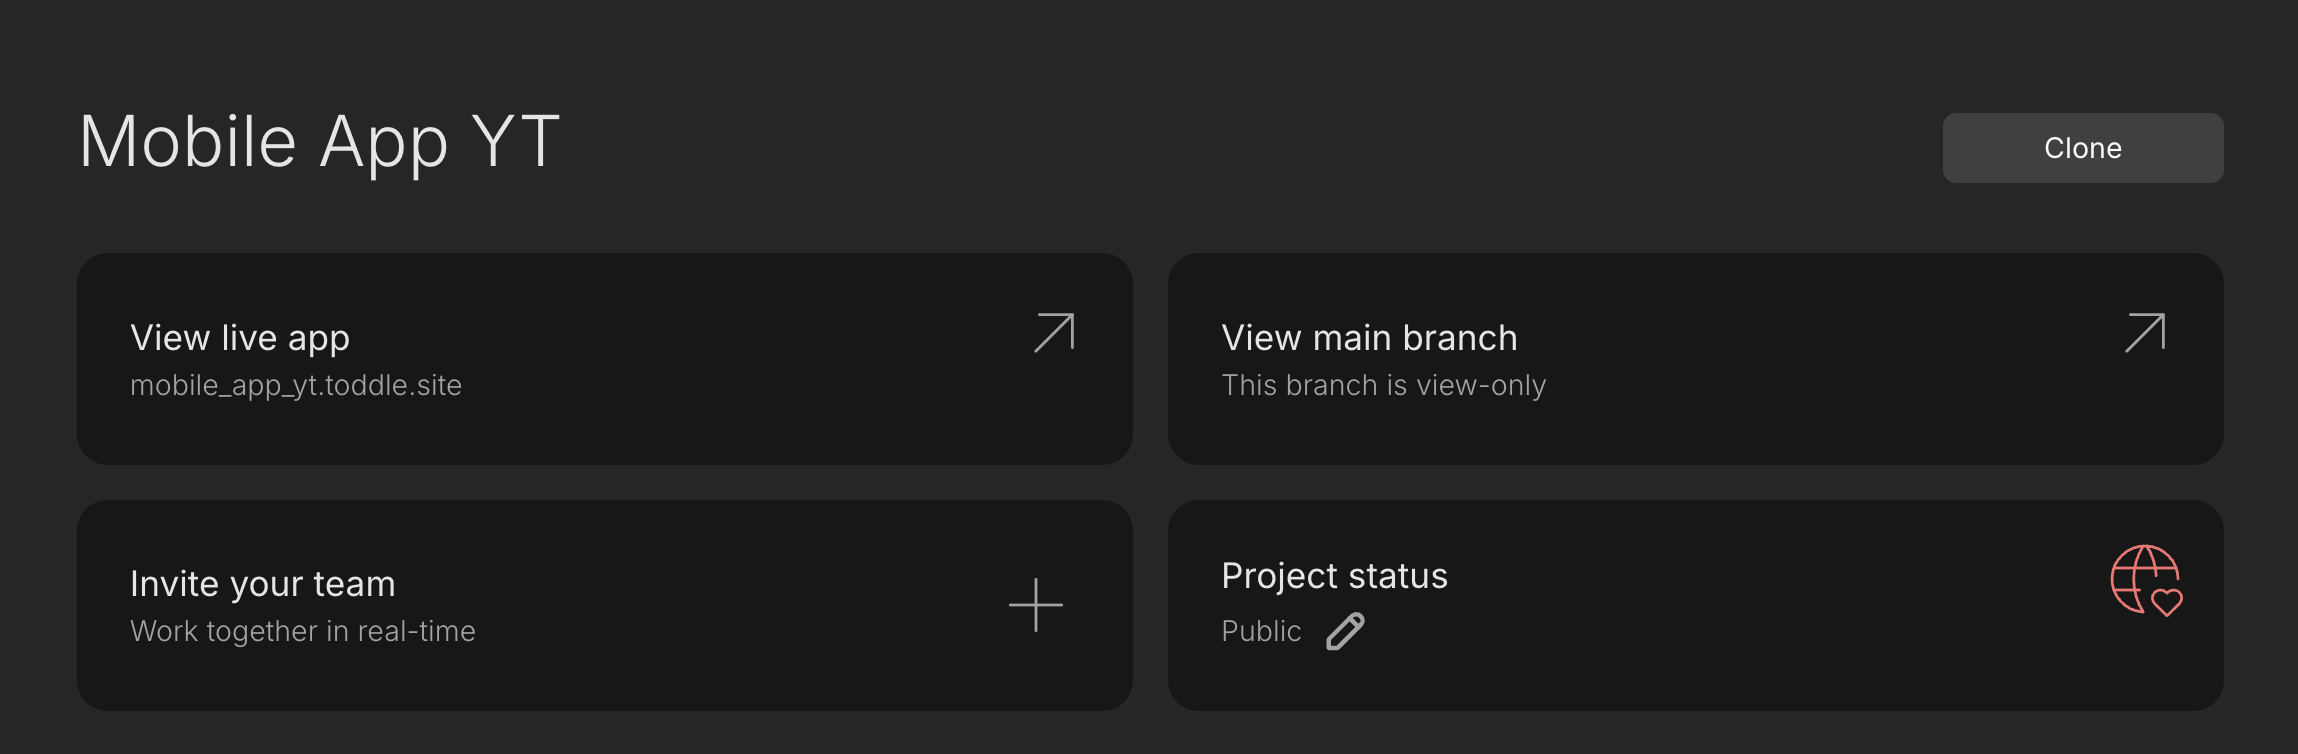
Step 2. Publish your Web App and get a Start URL
Despia requires a publicly accessible URL for your web app to render it in its native runtime. Please use a hosted website URL (such as https://yourapp.com) rather than a local development server (like http://localhost:3000).
Step 3. Setup Despia App Project
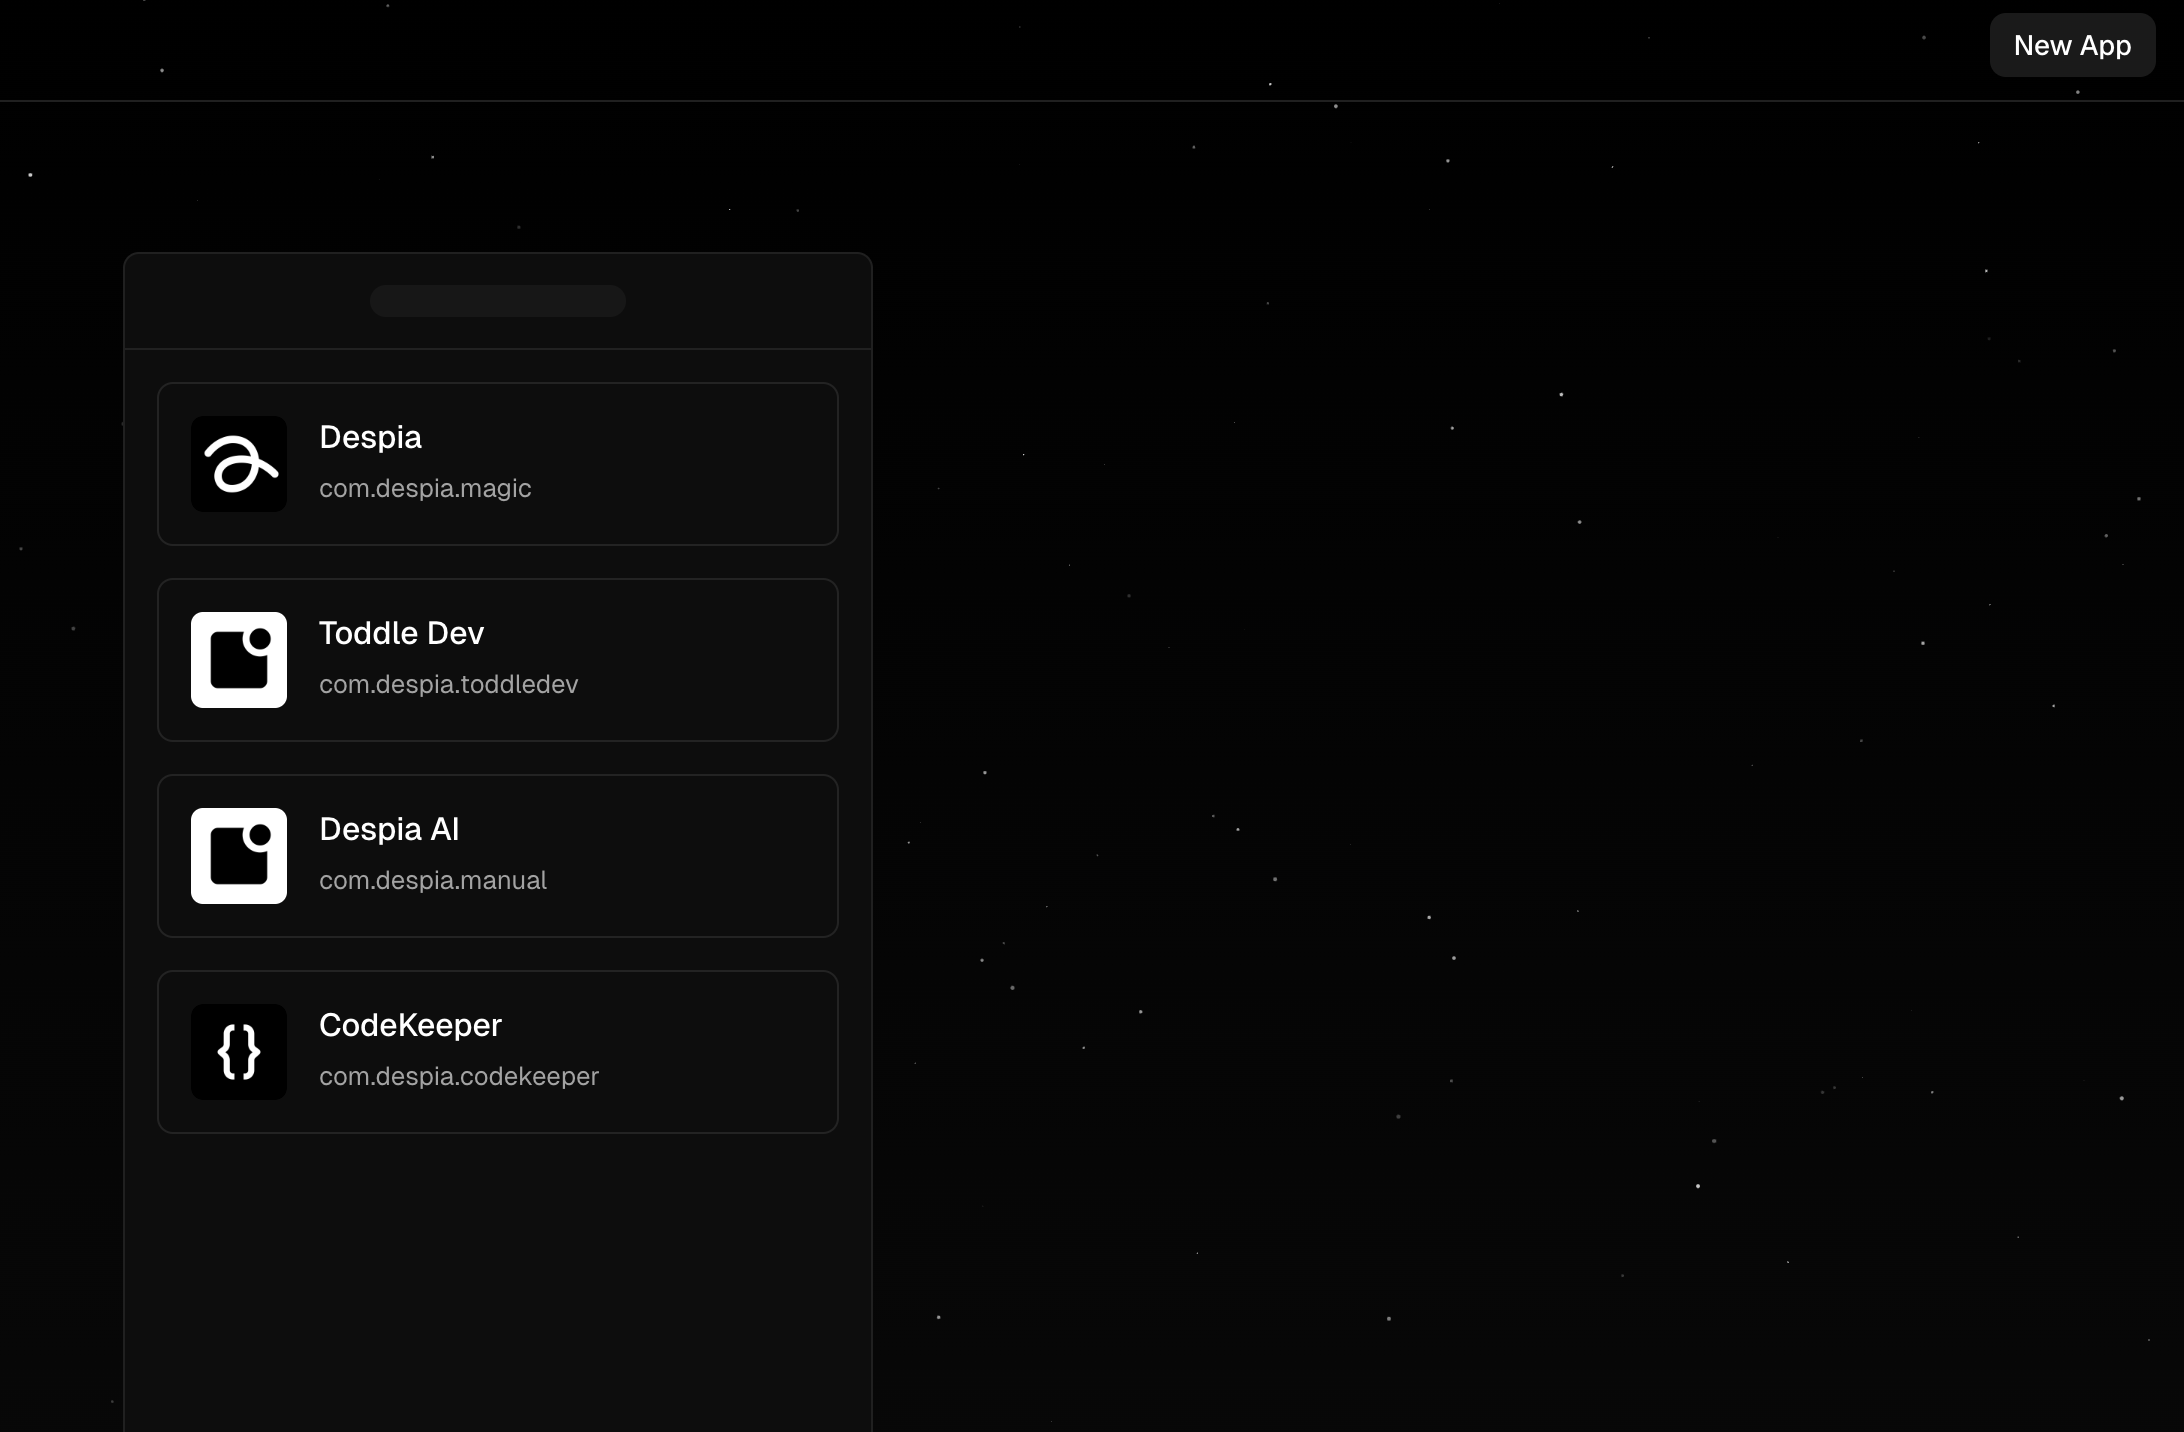
A. Create a new project by clicking the 'New App' button in the top-right corner of the dashboard.
B. Configure your app settings:
App Name
This is your app's display name that appears under the app icon
Example: "My Awesome App"
Start Screen URL
The main entry point URL of your web application
Must be a public URL (e.g., https://yourapp.com)
Bundle ID
A unique identifier for your app, using reverse domain name notation
Format: com.despia.appname
Example: com.despia.awesomeapp
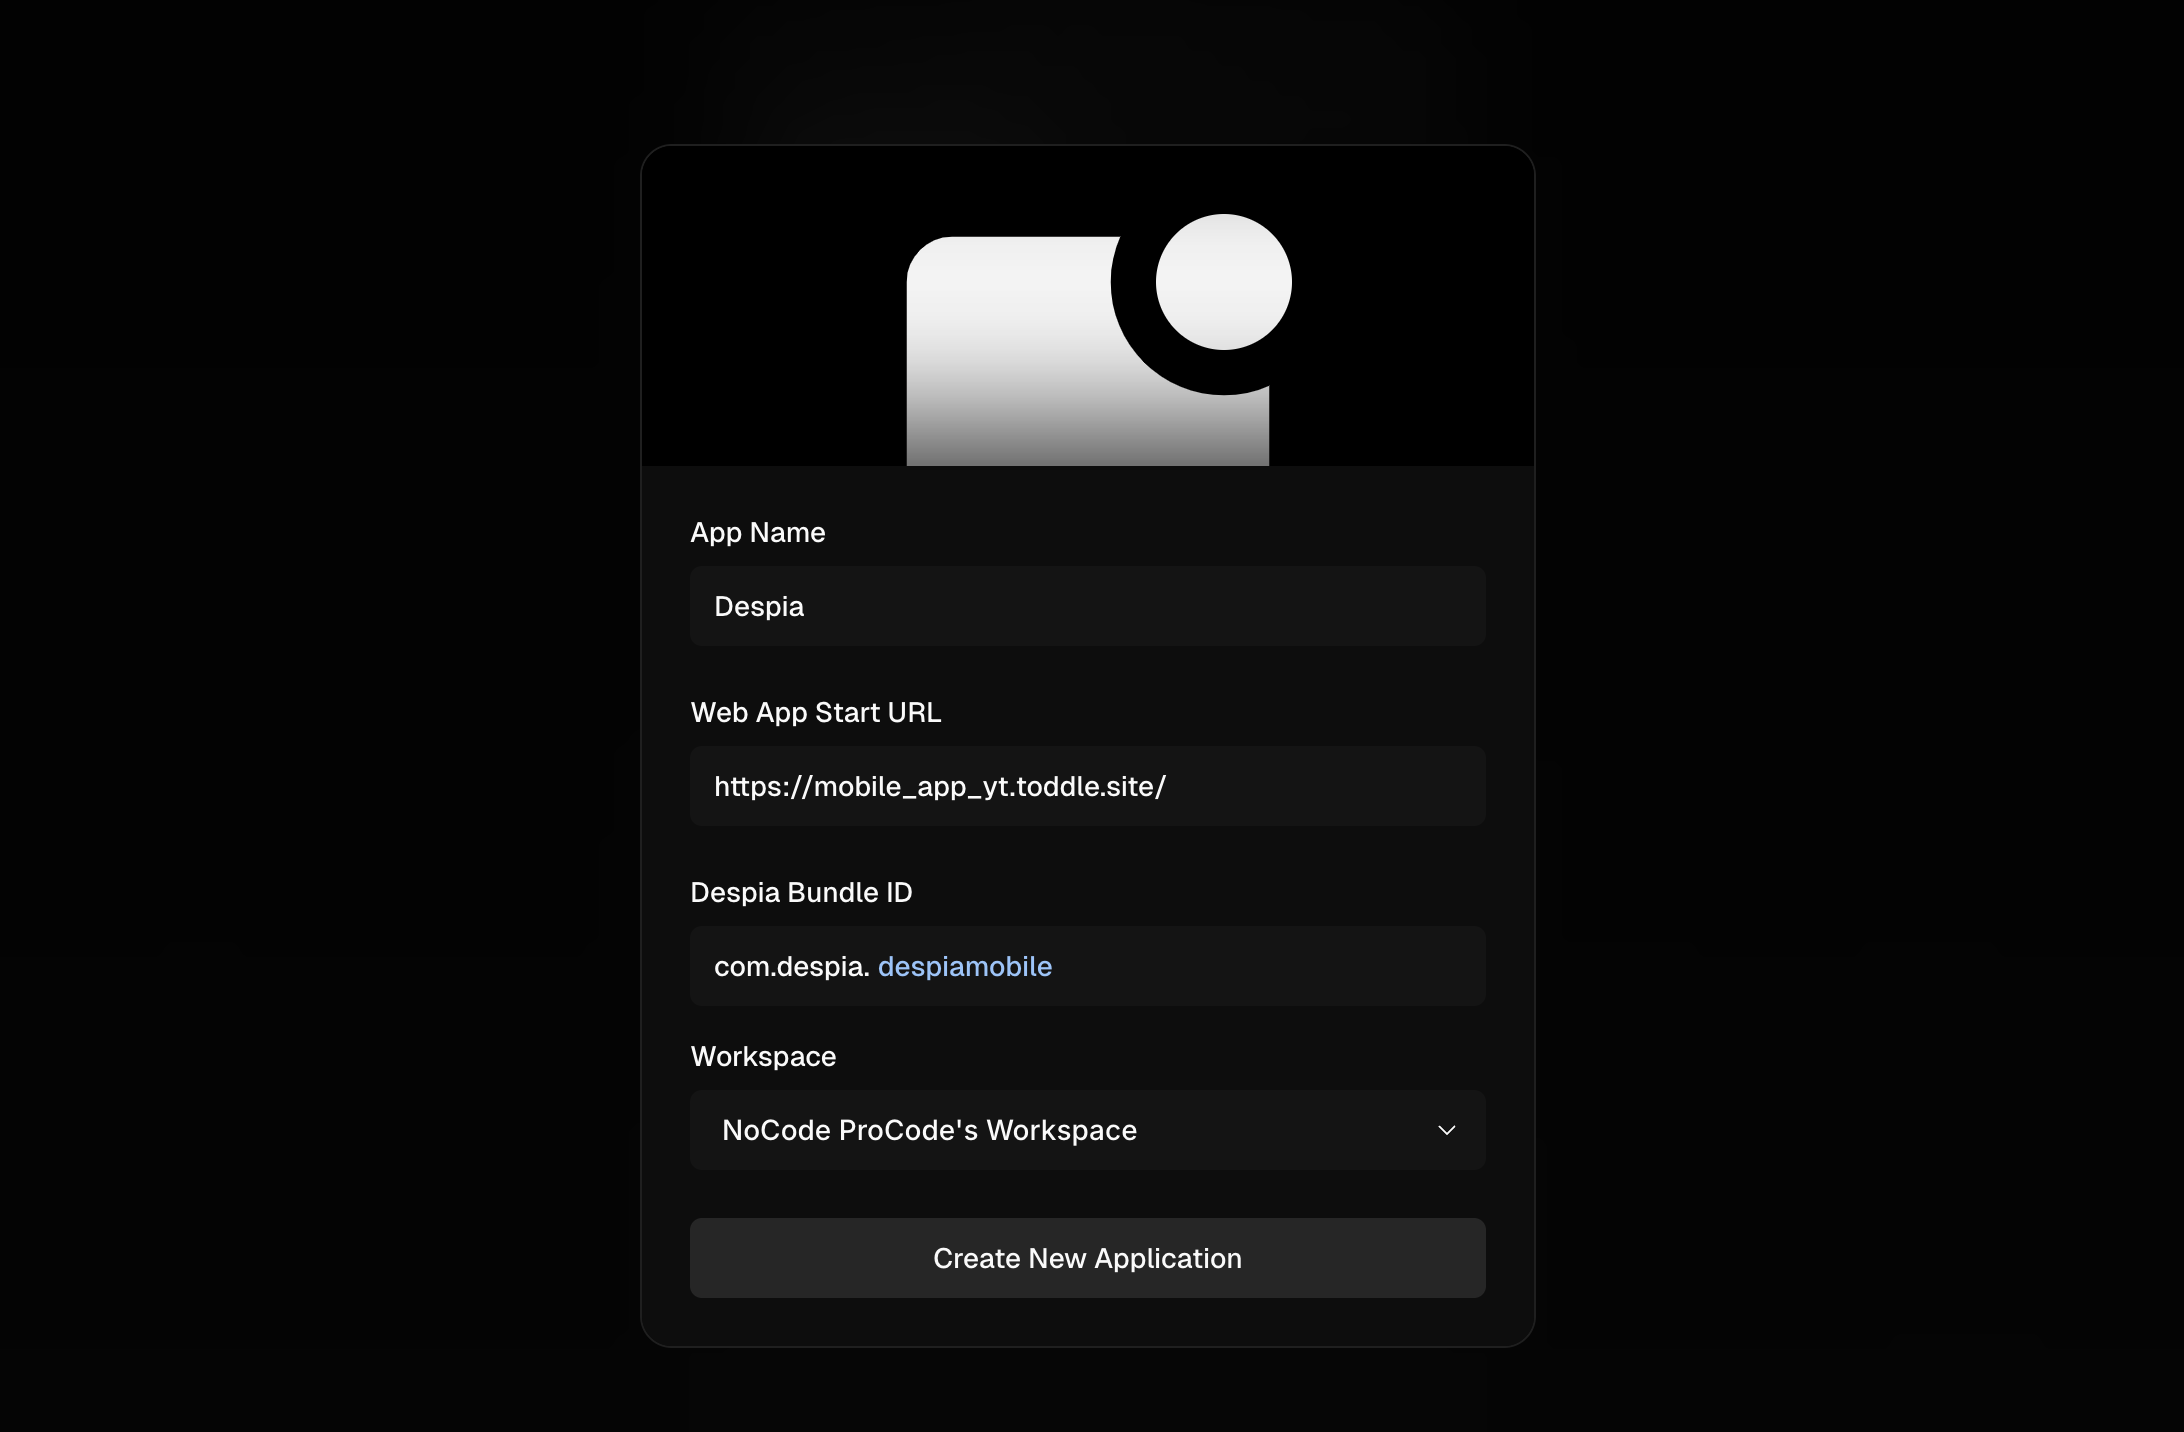
Click 'Create New Application' to proceed with app setup.
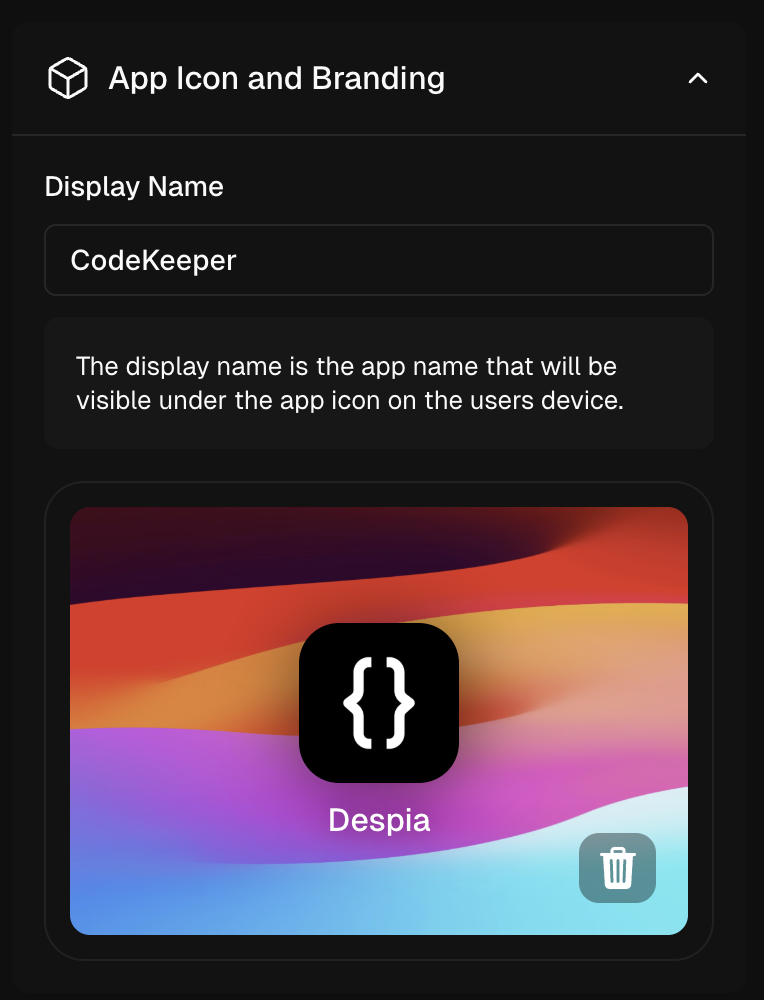
Step 4. Set App Icon & Splash Screen
App Icon and Branding: Upload a PNG app icon with these specifications:
Size: 1024 x 1024 pixels
Format: PNG
Design tip: Include adequate padding around your icon design to accommodate Android devices' round icon masks
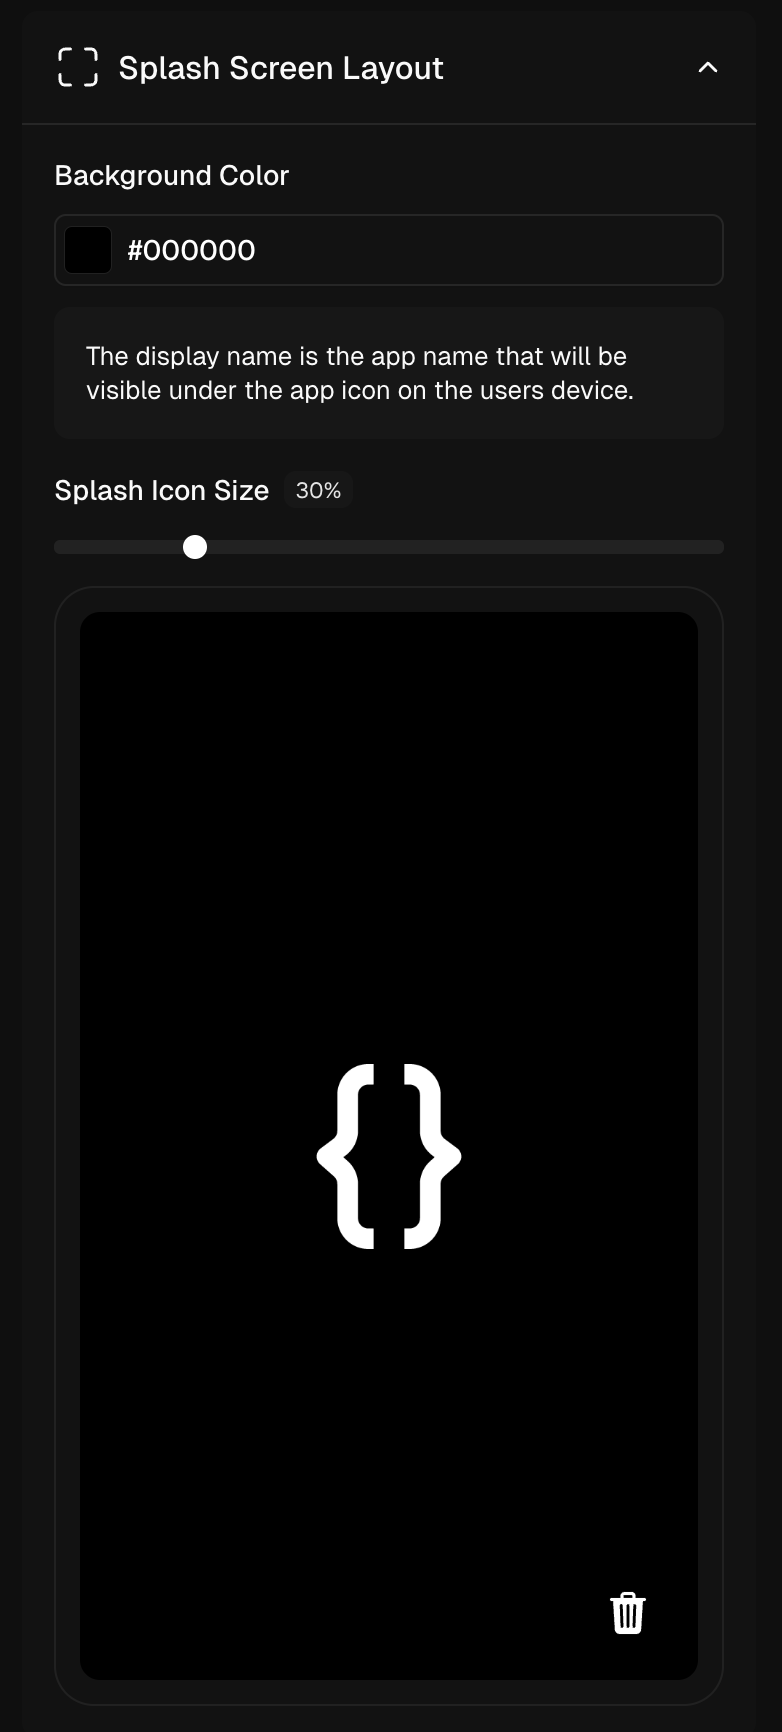
Splash Screen Configuration:
Upload a splash screen image:
Format: GIF with transparent background
Quality: High-resolution
Customize appearance:
Image size adjustments (optional)
Background color selection (required)
Step 5. Configure Native UI Styling
Customize Theme Settings: Configure your app's appearance under 'Light & Dark Mode Themes' in the right configuration panel:
Set UI styles for light mode
Set UI styles for dark mode

To disable theme switching, simply use identical color configurations for both light and dark modes. This will maintain a consistent appearance regardless of the user's device theme settings.
Android Theme Implementation Note: Unlike iOS, Android does not natively support dynamic light/dark mode switching through system settings. Android defaults to light mode, but you can implement iOS-style theme switching using Despia's Custom Actions feature. (See implementation example below)
This setting is typically unnecessary for Android devices, as Android's default behavior includes the status bar area (including notches) as part of the app's UI space.
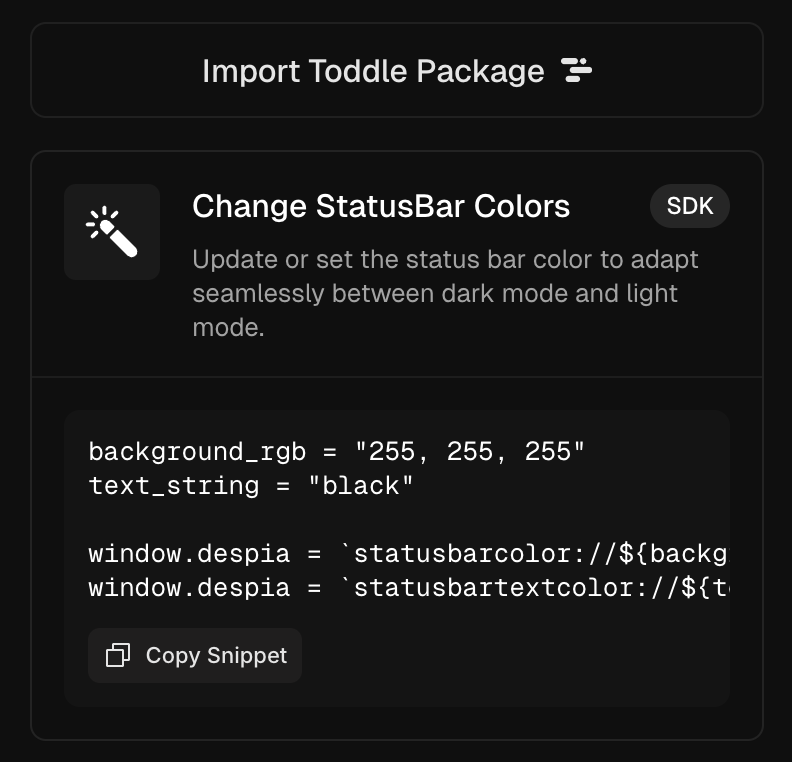
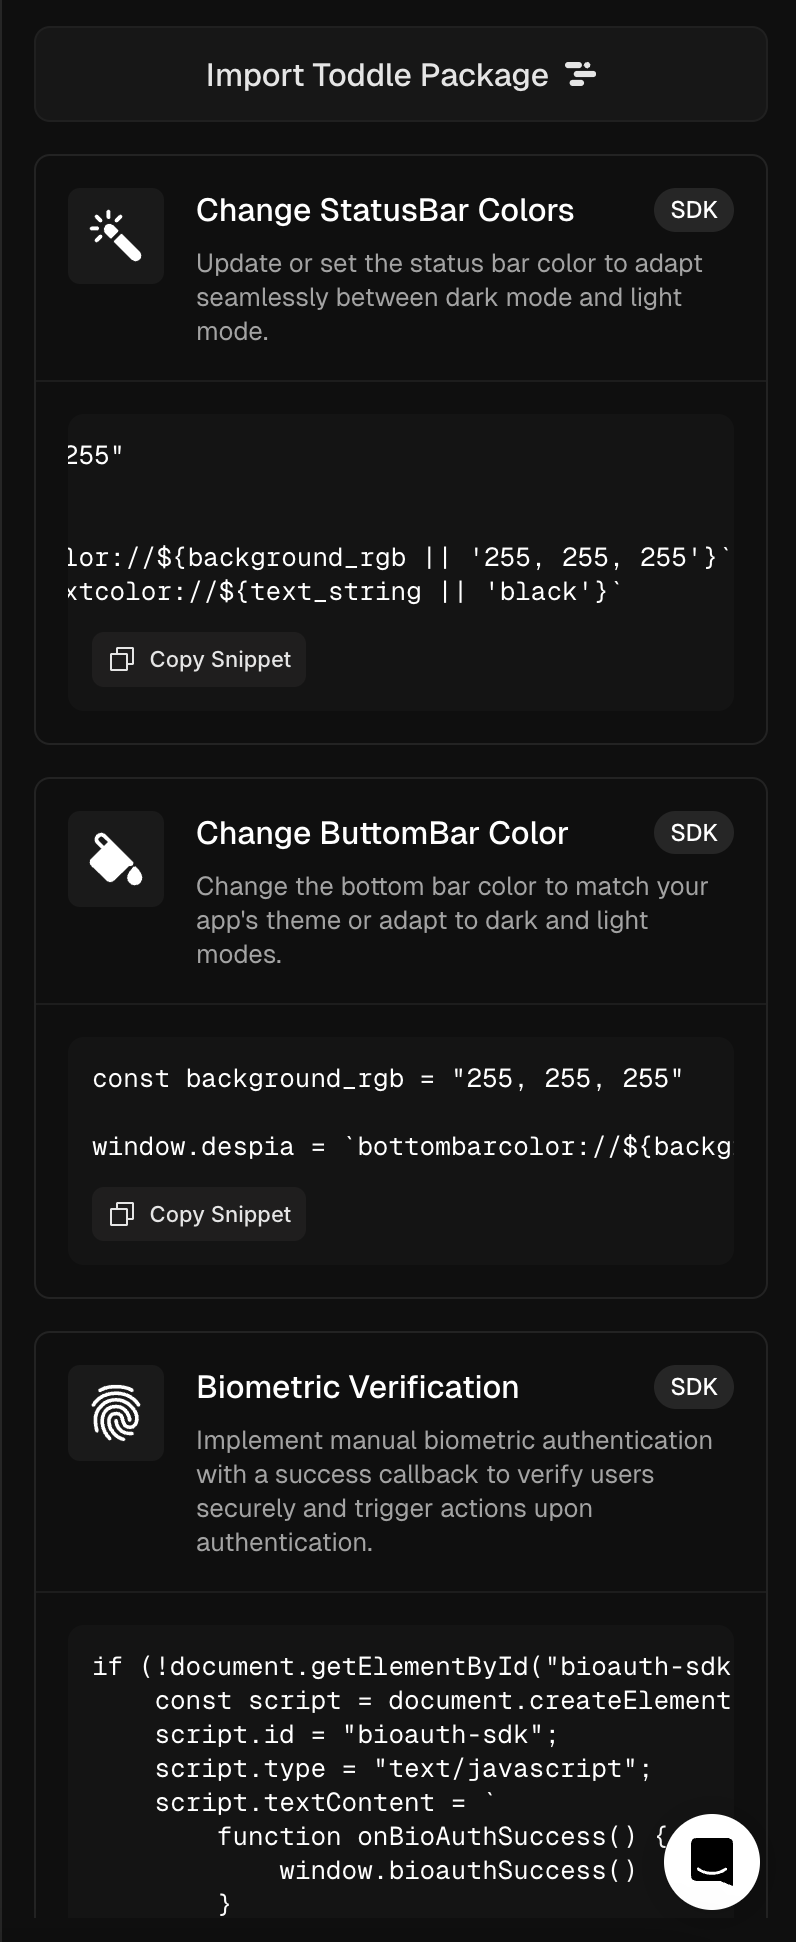
background_rgb = "255, 255, 255"
text_string = "black"

window.despia = `statusbar'255, 255, 255'}`
window.despia = `statusbartext'black'}`
Step 6. Configure Native Logic
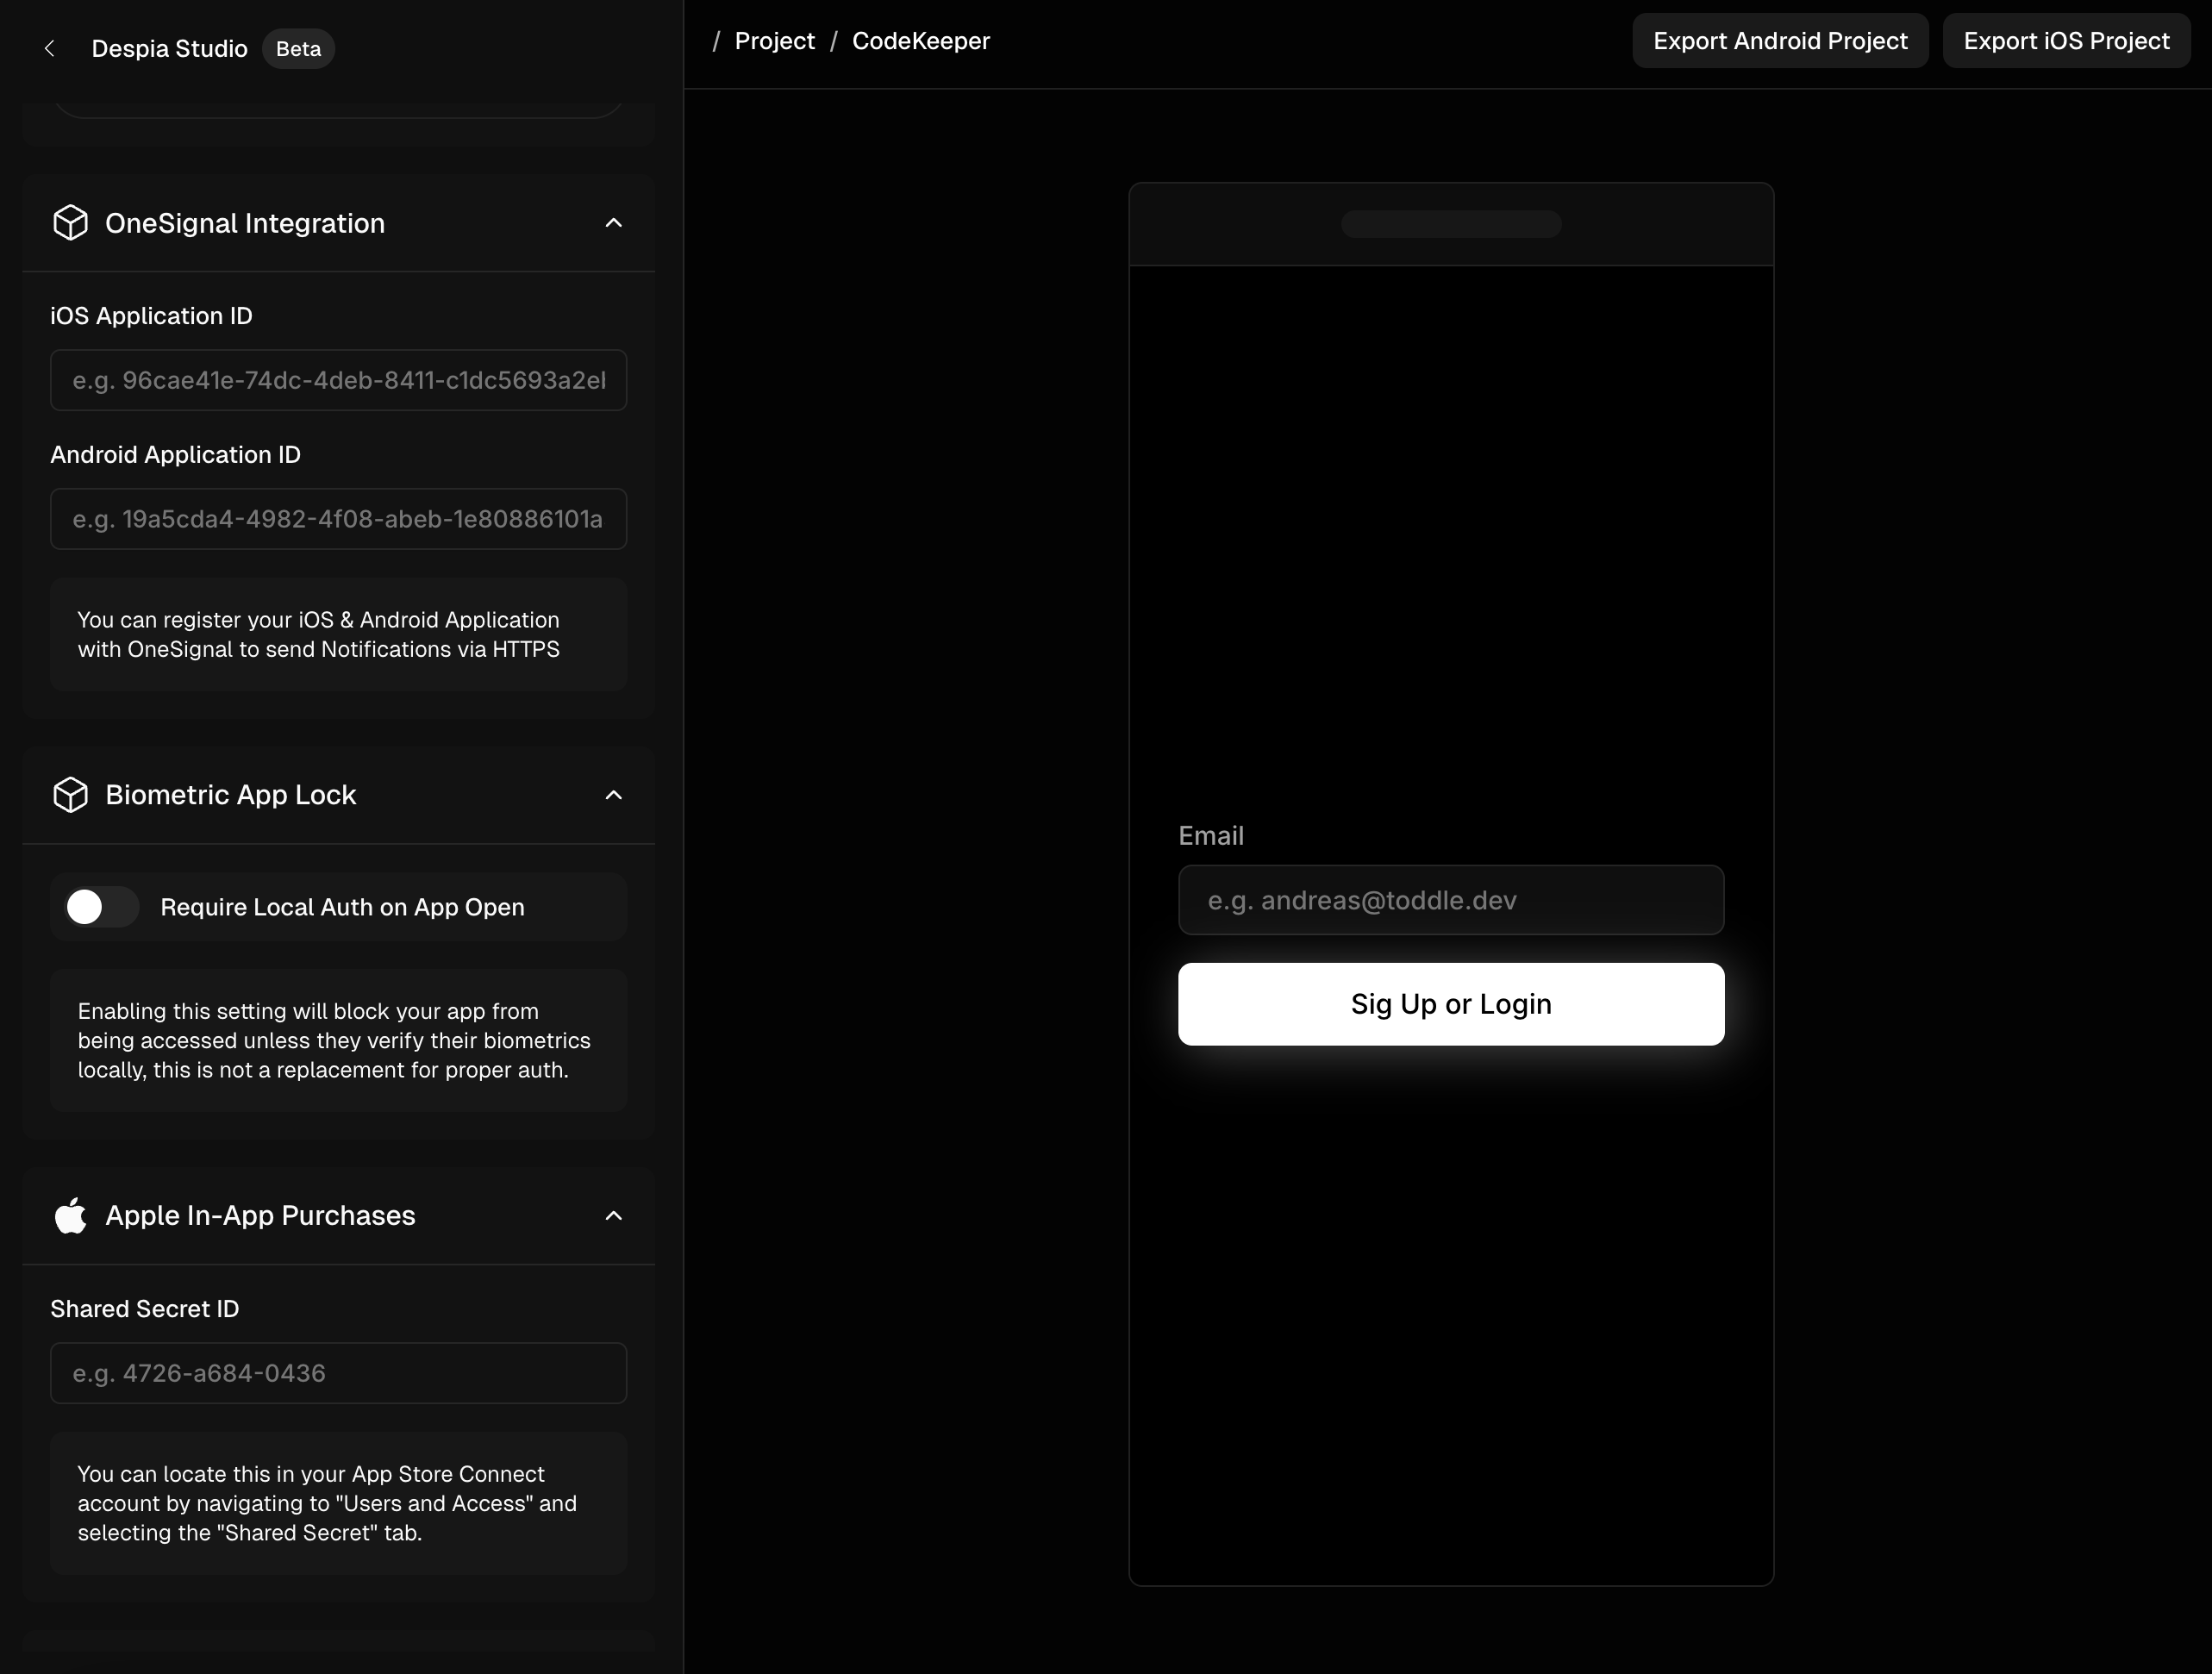
Configure Native Device Features: Access Despia's Native APIs in the right-side panel to set up device-specific functionality:
Biometric authentication
Push notifications via Rest API
Other native device features
These features run directly on the device and communicate with your web app through callbacks, providing true native performance.
Step 7. Native Logic in your Web App.
Add native device functionality like haptic feedback and Face ID authentication directly in your web app's codebase. Despia seamlessly bridges your web code with native device features, letting you control native functionality without leaving your familiar web development environment.
You can do this via our JavaScript API or our NoCode toddle package
Step 8. Export Code and Preview
Use the iOS and Android export buttons in the top-right corner to generate your native app code
Each export provides a complete ZIP package containing:
Full source code for the respective platform
Project files for Xcode (iOS) or Android Studio
Build Process:
iOS: Build in Xcode to generate an .ipa file
Android: Build in Android Studio to generate an .apk file
Both formats are ready for app store submission
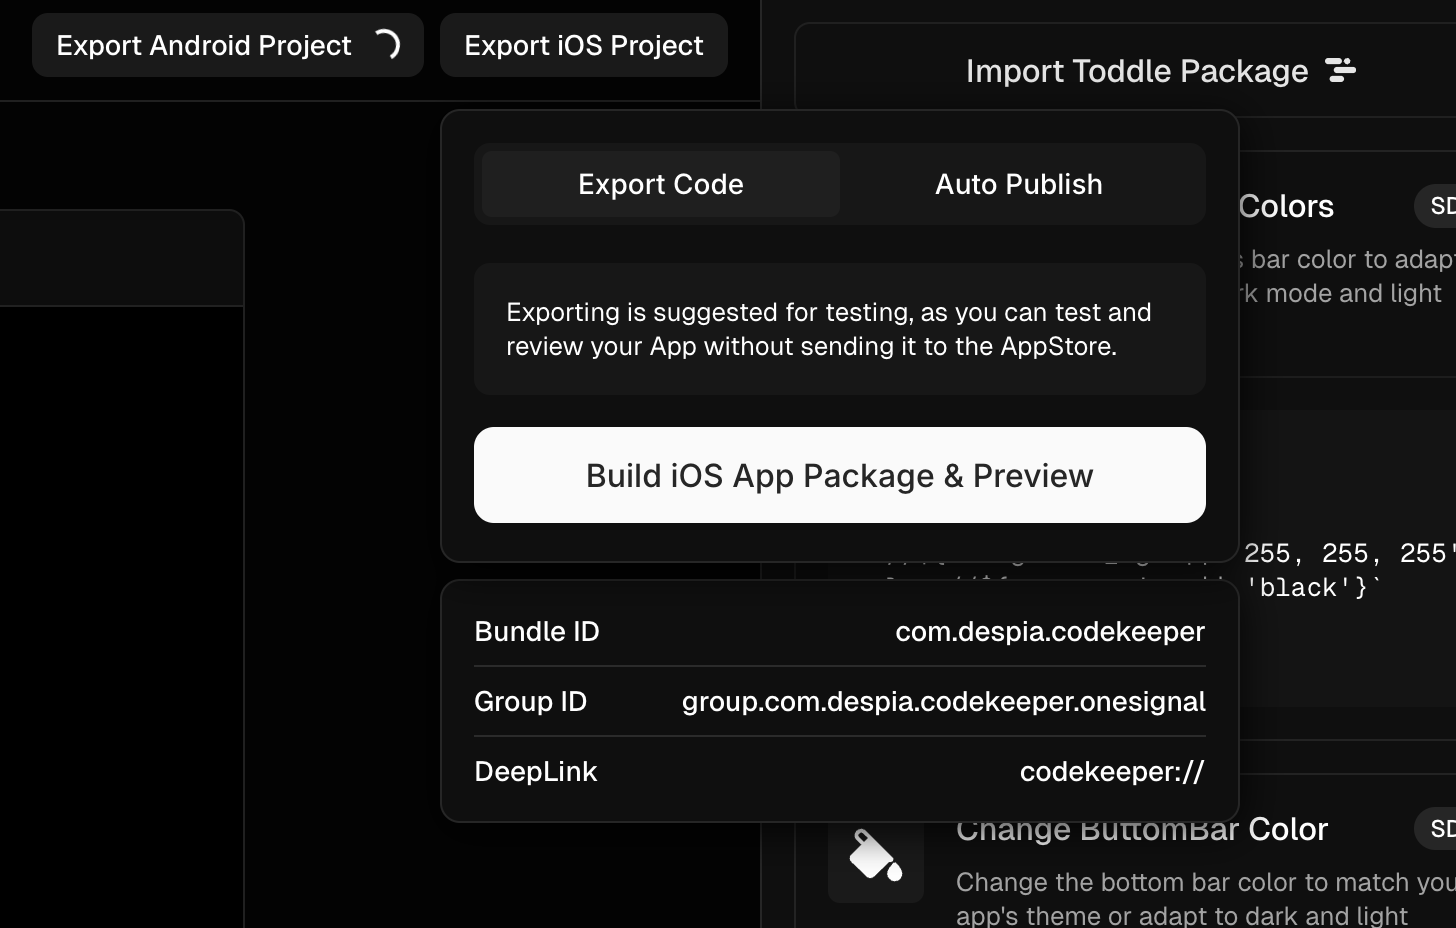
Step 8a. Automatic App Store Publishing:
Use our cloud-based publishing service to deploy your app:
Powered by Mac mini M2 cloud infrastructure
No Apple hardware required
Suitable for both development and production releases
Important Notes:
Recommended primarily for final app store submissions
Updates to your Despia configuration require a new app build
Changes to your web app content appear automatically without requiring app updates!
Here is a full example of building a Despia mobile app using toddle.dev in 5 hours
Need Help? Contact our support team at support@despia.com for assistance with any questions about your app development process.